
If you’re looking for a fun indoor project for the kids, rock painting is a great choice! Whether you’re looking for an activity for one child, or a group of kids, rock painting is a fun and creative option that is perfect for rainy days!
Rock painting requires a few simple items to get started, and you may already have the tools you need in your craft kit.
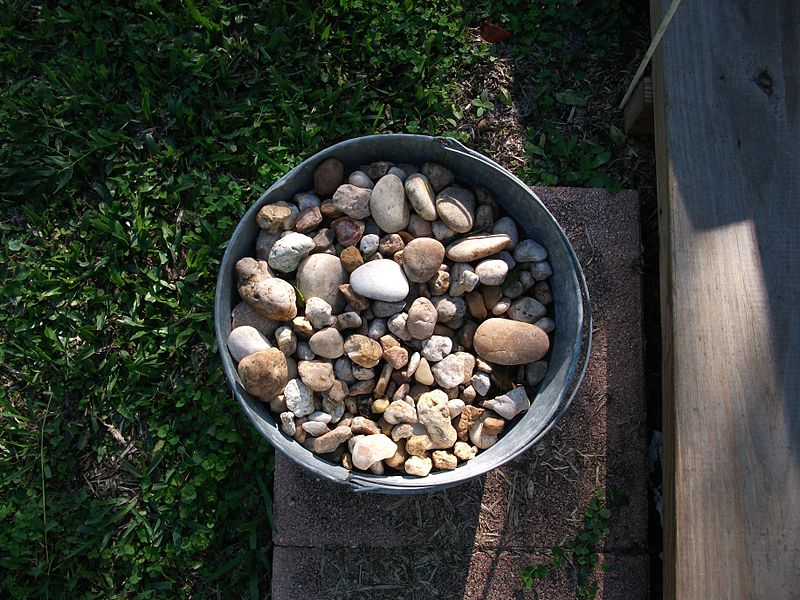
Rocks
Collecting rocks is a fantastic “part one” to this activity! If you’re scheduled rain later in the week, start collecting your rocks on one of the sunnier days! Go on a fun walk around your neighbourhood or at your local park to find the perfect rocks. You’re looking for big, flat rocks – just be sure that they don’t belong to your neighbour’s rockery or garden!
If you don’t have time to find the rocks, you should find them to buy at local garden centres, craft stores, and potentially discount or £1 shops.
Whatever rocks you use, make sure they are clean and dry before starting!
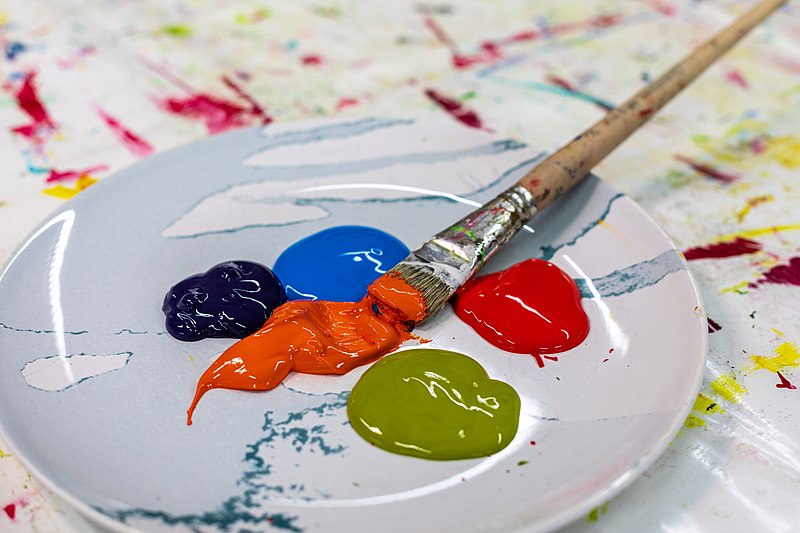
Paint and Brushes
The best paint to use for this craft is acrylic paint. This is because the consistency is thick so the colour will be vibrant and apply smoothly. If you don’t have acrylic paint at home it can be bought from craft supply shops, as well as most large supermarkets and discount stores.
You don’t need any specific brushes for this activity, but as rocks are fairly small we would recommend having plenty of small brushes, as well as a water pot to wash between colours.
Alternatives
While this is a painting activity, you may find traditional paint isn’t the best choice for your kids. There are a variety of paint pens available in most craft stores or online, which create less mess!
You can also use regular felt tip pens or markers, but we would recommend pre-painting the stones with a white acrylic base the night before.
Black and white fine liners or gel pens can be used to do any outlining or details once the paint or paint pens have dried.
If you do not have any of the necessary craft supplies, rock painting kits can be bought from toy shops, craft stores, and online retailers with all of the equipment you will need.
Sealant
After all that hard work you don’t want the designs to get destroyed. Spray sealants are available in both matte and glossy finishes from craft retailers and online shops. Follow the directions on the product once the paint has dried, but we would recommend leaving this as a parents-only activity in a well-ventilated area.
If you want the kids to be involved, a simple coat of PVA will do once the paint has dried, and this is a perfect stage to add glitter or other decorations!
Tips
Prep the rocks – ensure your stones are clean and dry – we recommend doing this the night before, and leaving on a towel to dry overnight. If your kids are using pen instead of paint, do this 2 nights in advance so you can paint the stones the day before and leave to dry overnight.
Prepare the area – lay down newspaper to protect surfaces and floors if your kids are messy! Make sure they are wearing aprons or messy clothes before starting.
If your kids are wanting to do specific designs, it’s a good idea to get some paper and pencils so they can design how they want their rocks to look before starting. If you have younger kids who just want to go wild with the paint, go for it!
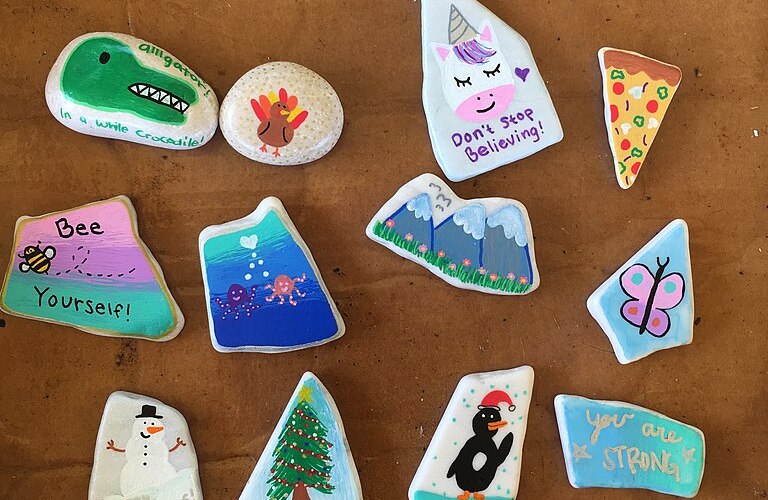
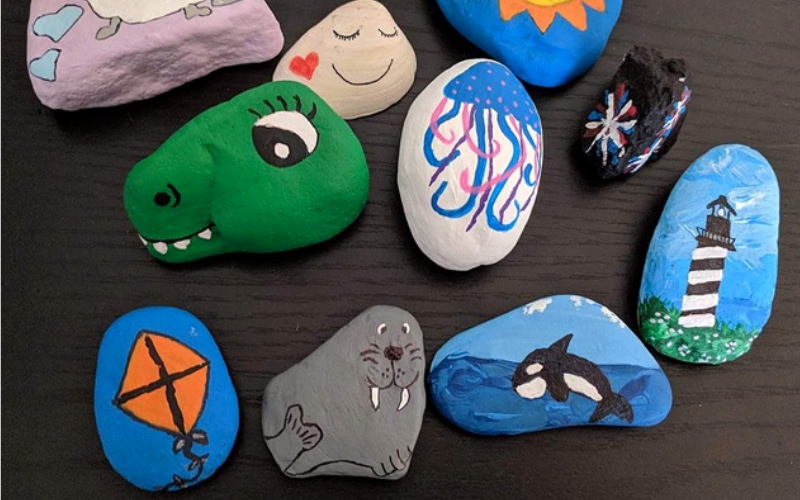
If it’s your first time painting rocks, encourage your kids to go for a simple design, like ladybirds, bumble bees, faces, and weather symbols
Once they’re dried and sealed, painted rocks make a perfect home-made gift for family members, as they can be used as paperweights, garden decorations, or even as an indoor decoration placed on a mantlepiece or window sill