What’s that Millie? Another Easter themed blog post? You bet your bunny ears it is! 🐰
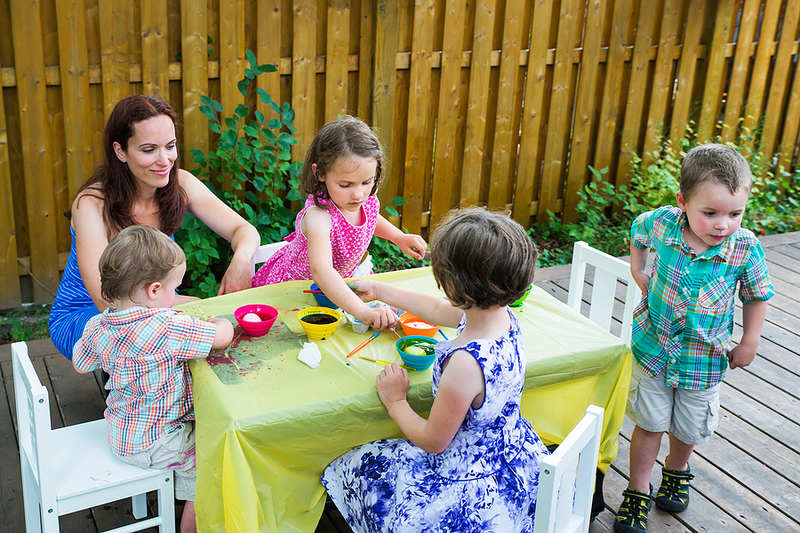
I’m just starting to get everything together for Easter, all the craft supplies etc., and since the kids are getting a little older I’m upping my game in terms of which crafts we are going to be attempting this year. Crafting is a bit of an Easter tradition in our house, so I like to make a little extra effort with it, instead of simply tipping out the craft drawer and making a run for it.
Anyway, I thought it would be a good idea to share what we are going to be doing this year with all of you. So here are 6 Easter craft projects that are so easy, anybody can do them at home.
Paper Plate Easter Bunnies
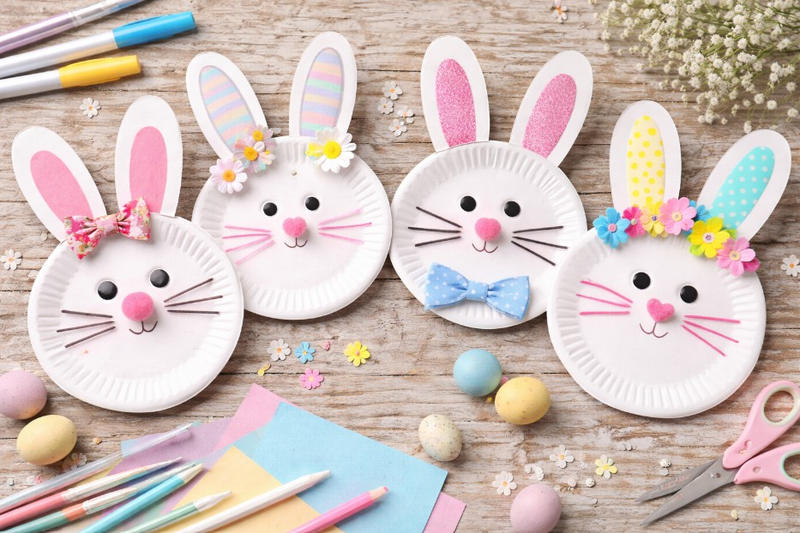
A classic, super cheap, and really easy for kids of all ages to have a go. The older kids can get more inventive to keep it interesting for them, and once finished, paper plate Easter bunnies are very is to display too.
What You’ll Need
• Paper plates
• Paint (white, grey, brown or whatever you have)
• Coloured paper or card
• Cotton wool
• Glue
• Scissors
• Felt-tip pens or googly eyes
How To Make It
- Paint the paper plate and leave it to dry. (This is the part where someone inevitably touches it too early.)
- Cut out two long bunny ears from coloured card. Stick a smaller pink strip inside each one if you’re feeling fancy.
- Glue the ears to the back of the plate.
- Add cotton wool for cheeks or a fluffy nose.
- Draw on eyes and whiskers, or stick googly eyes in place.
If your bunny ends up looking slightly startled, cross-eyed or slightly mental, that’s part of the charm. No two are ever the same, and that’s exactly the point.
Salt Dough Easter Decorations
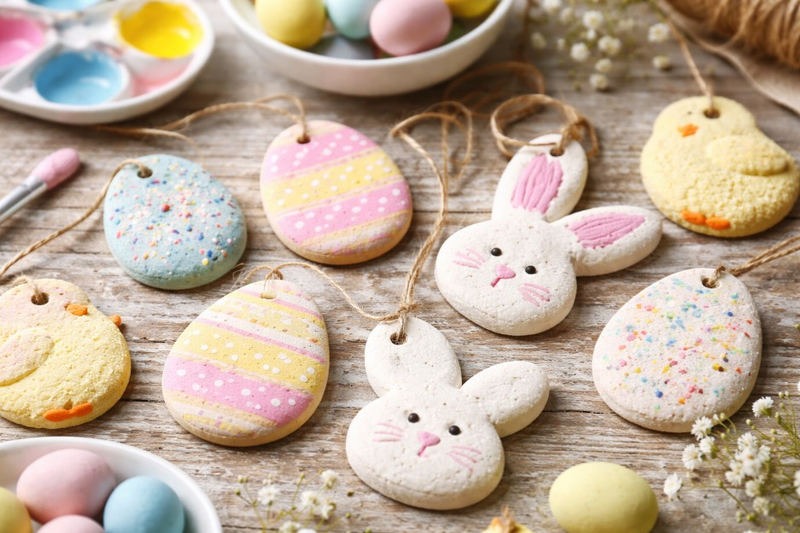
I’m a big fan of salt dough. Again, it’s very cheap, and in fact, you probably already have all the ingredients. You can use it for any occasion or even for no occasion at all – it’s a bit like modelling clay. It’s a little bit messy too which just adds to the fun!
What You’ll Need
• 2 cups plain flour
• 1 cup salt
• 1 cup water
• Mixing bowl
• Rolling pin
• Easter-shaped cutters (or a glass for circles)
• Straw (for making hanging holes)
• Acrylic paint
• Ribbon or string
How To Make It
- Mix the flour and salt together in a bowl.
- Slowly add the water and combine until you have a dough. It should feel firm but not sticky.
- Roll the dough out to about 1cm thick.
- Cut out egg shapes, bunnies or simple circles.
- Use a straw to make a small hole at the top if you want to hang them.
- Bake at a low temperature (around 120°C) for 2–3 hours until hard, then leave to cool completely.
- Paint and decorate once cooled, then thread ribbon through the holes.
These are lovely because they last. Ours always reappear the following year, slightly chipped, slightly wonky, but still proudly displayed.
Toilet Roll Chicks
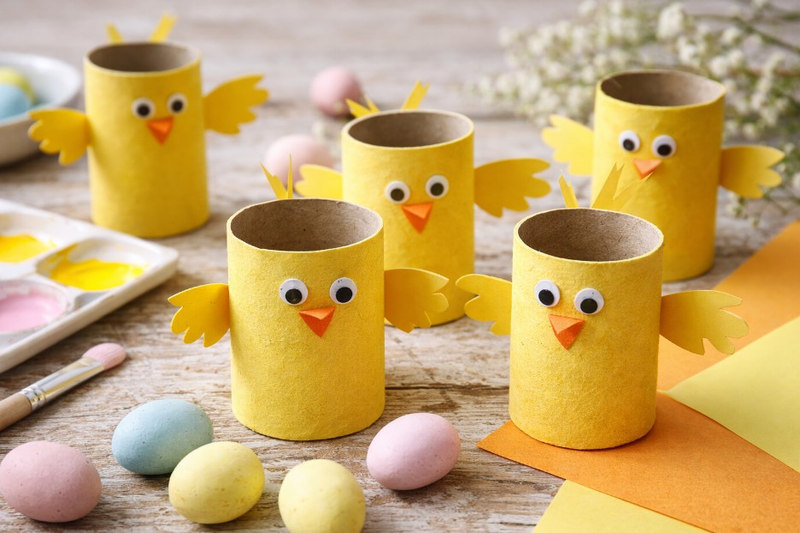
You know all those empty toilet roll tubes your other half makes sculptures out of instead of putting them in the bin? This is the one time of year you don’t want to tell him off for it. Start collecting them in the new year and you will be able to make a whole brood of Easter toilet roll chicks. 🐥
What You’ll Need
• Empty toilet roll tubes
• Yellow paint
• Orange and yellow paper
• Glue
• Scissors
• Googly eyes or black pen
How To Make It
- Paint the toilet roll tube yellow and leave it to dry.
- Cut out small wings from yellow paper and a triangle beak from orange paper.
- Stick the wings onto the sides and the beak at the front.
- Add eyes using googly eyes or draw them on.
They’re quick, they use things you already have, and they’re perfect if you need something that fills half an hour without requiring a trip to the craft shop.
Decorated Hard-Boiled Eggs

Another classic. Everyone has decorated an egg at some point. You can actually remove the egg from the shell instead of cooking them first, although it’s tricker for little people, and 100% messier. You have to be a bit careful too as you are dealing with raw egg.
You just need to use a needle to poke a smell hole at the top and bottom, then you use a toothpick to burst the yolk, and you can blow the raw egg out of the hole. You have to dunk it in water once the egg is out though, then blow the water out too, or the leftover bits of egg will start to stink.
Gross.
What You’ll Need
• Eggs
• Saucepan
• Food colouring or paint
• Stickers, pens or brushes
• Paper towels
How To Make It
- Place eggs in a saucepan, cover with cold water and bring to the boil.
- Once boiling, reduce to a simmer and cook for 8–10 minutes.
- Remove and leave to cool completely.
- Dip in food colouring, paint them, or decorate with stickers and pens once dry.
If you’re using food colouring, lay plenty of paper towels down first. It only takes one enthusiastic child to create what looks like a forensic scene in the kitchen.
Handprint Easter Cards
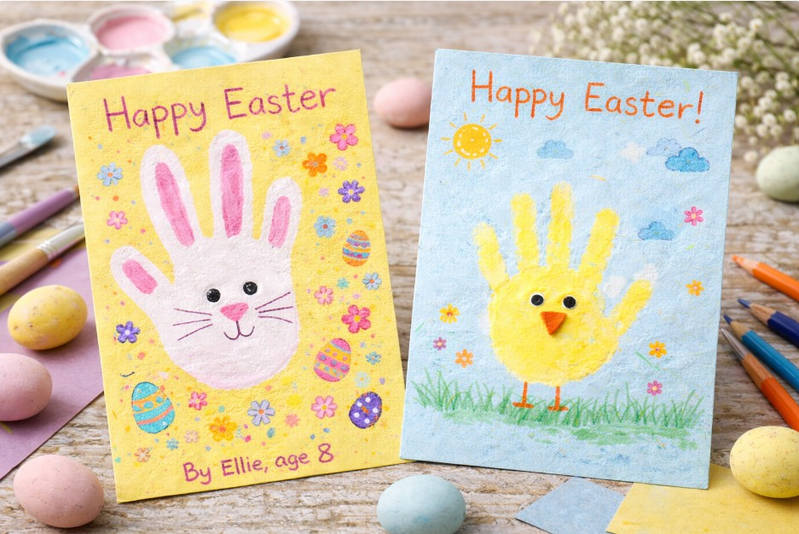
Handprint Easter cards are so simple they hardly warrants explaining, but it’s a good one because the kids can make a few and give them out to grandparents etc. It gets them doing a bit of extra writing practice on the sly too. 😏
What You’ll Need
• Coloured card
• Washable paint
• Paintbrush
• Felt-tip pens
How To Make It
- Fold a piece of card in half to make your card.
- Paint your child’s hand with washable paint.
- Press firmly onto the front of the card and lift straight off.
- Once dry, turn the print into a bunny, chick or lamb by adding ears, eyes and little details with a pen.
These are basic but they always feel special. The handprints get slightly bigger every year, which is both lovely and slightly heartbreaking at the same time.
Simple Easter Bonnet
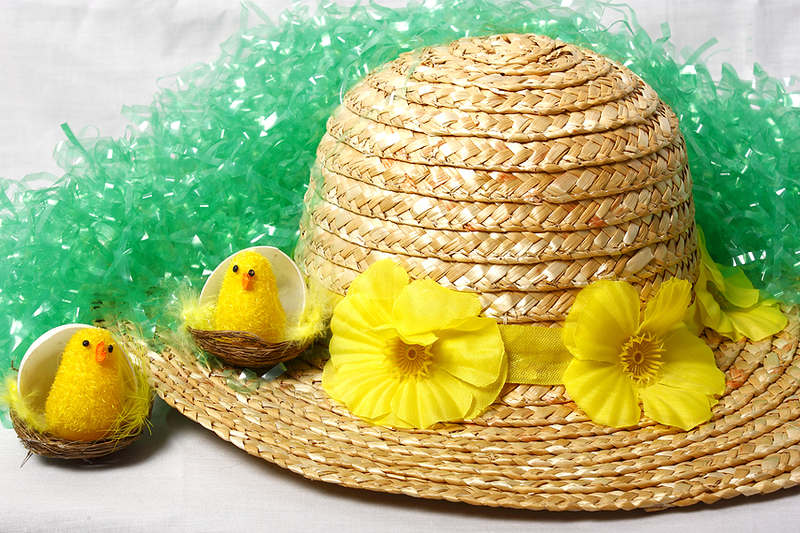
Probably to most labour intensive of all of these crafting activities, is the Easter Bonnet. We are going to make ours from scratch, as we only use them for the egg hunt, but if you are going to be wearing them to church or something you might want to buy straw hats as bases.
What You’ll Need
• A plain straw hat or inexpensive sun hat (or make a base from sturdy card)
• Coloured tissue paper
• Fake flowers or paper flowers
• Ribbon
• Glue (strong PVA or glue gun for adult use)
• Small Easter decorations (chicks, mini eggs, foam shapes, etc.)
How To Make It
- Start with your hat base. If you don’t have one, cut a wide strip of sturdy card, measure it around your child’s head and staple it into a band. Attach a flat cardboard circle to the top to create a simple hat shape.
- Decide on a rough theme before sticking anything down. Trust me — five minutes of planning saves a lot of “why is there a dinosaur next to a lamb?” later.
- Use scrunched tissue paper to cover the base if you want colour. Glue it down and let it dry properly before adding decorations.
- Arrange flowers, chicks and decorations loosely on top first to see how it looks. Once you’re happy, glue them into place.
- Add ribbon around the brim for a finishing touch.
You don’t need layers of artificial grass and an entire farmyard scene. A few well-placed flowers and one or two Easter characters is more than enough. The children are proud regardless.
So there you go – I hop that was helpful. This should be plenty to fill some time during the Easter holidays, and give the kids a bit of on trend structure without going broke or completely destroying your living room.
Happy Easter!